22 How to create Work Order
- 25 Apr 2024
- 1 Minute to read
- Contributors

- Print
- DarkLight
- PDF
22 How to create Work Order
- Updated on 25 Apr 2024
- 1 Minute to read
- Contributors
- Print
- DarkLight
- PDF
Article summary
Did you find this summary helpful?
Thank you for your feedback
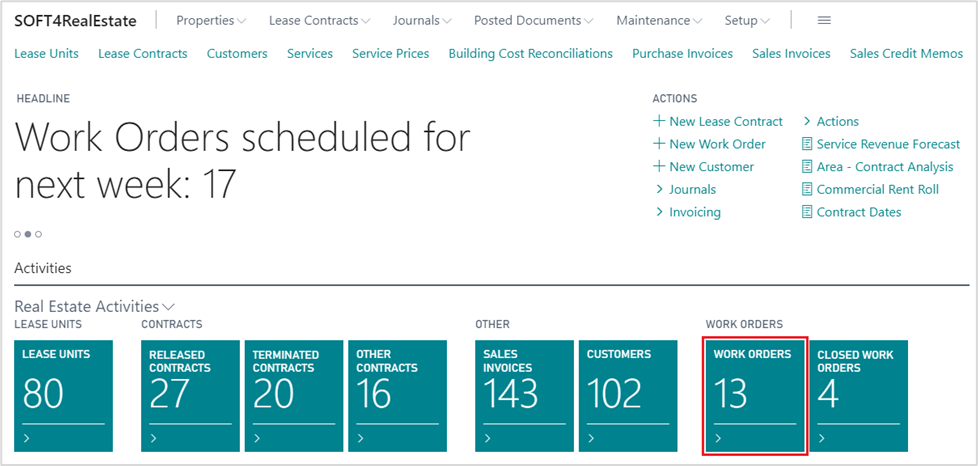
Work Orders in Soft4RealEstate are used to register Customers’/ Tenants’ requests for the repair, renovation, maintenance, and other tasks. Work Orders Calendar View provides the schedule for the employee assigned.
To create a new Work Order:
Open Work Order window from a Role Center.
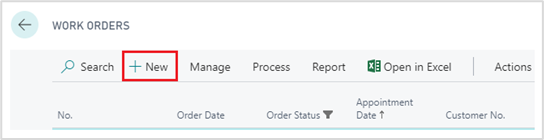
Click New and fill in information.
On the Work Order card specify:
- Prepared by. Select a person who is responsible for preparation of the Work Order.
- Assigned To. Select a person who is in charge of a particular Work Order.
- Order Date. Enter the date when the Work Order was ordered.
- Customer No. Select a Customer who ordered the work. A Customer could be selected from a list or newly created. If the Customer were selected from the list, further information about the Customer would be filled in automatically.
- Contract No. Specify a valid Customer’s Lease Contract from the list. Lease Contract must be valid in order to create the Work Order.
- Set Warranty if the Work Order is being ordered on a Warranty period.
- Customer Request. Enter Customer’s notes about the Work Order.
- Requested Appointment Date. Enter the appointment date requested by the Customer.
- Appointment Date and Time. Enter agreed appointment date and time.
- Vendor. Select the Vendors number if the Work is being done by the Vendor.


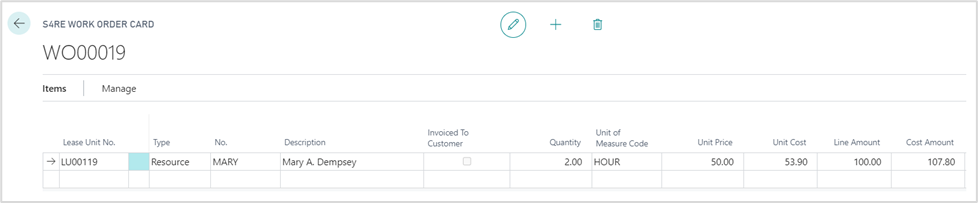
Add Work Order details on Items section:
- Lease Unit No. Select Lease Unit/ Units for the work order. Lease Unit has to be from the contract which was selected in the Request section.
- Type. Select type of the Items: G/L Account, Item, Resource, Fixed Asset, Charge (Item) or Service.
- Quantity and Unit of Measure Code. Enter the information about the duration of a work order.
- Unit Price. Enter the unit price of the work order. Unit cost, Line Amount and Cost Amount would be counted automatically.
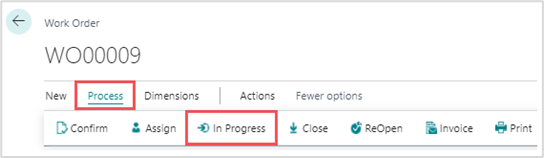
After a Work Order is created and started its status has to be changed: go to Process and click In Progress.
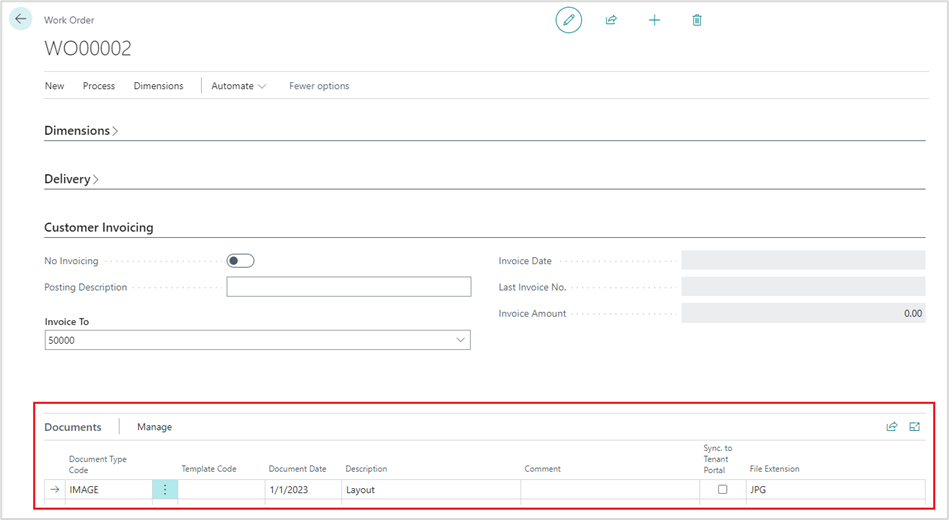
Add and store any type of documents using section Documents either internally or set Sync. To Tenant Portal and share


Was this article helpful?